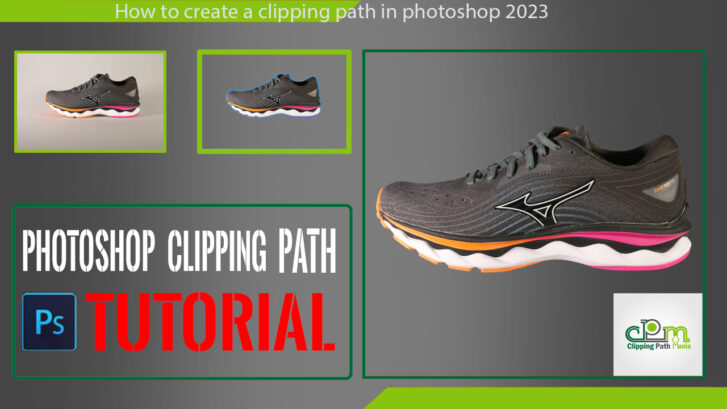
How to Create a Clipping Path in Photoshop 2023
Every aspirant photographer and graphic designer must learn how to do a clipping path in Photoshop. It offers you the flexibility to make fast changes if a demanding customer asks for a complete renovate of your design. This is very much vital when you have paid deadlines.
Adobe Photoshop makes it possible to isolate definite parts of an image without changing the layer. This permits you to tweak the photograph at any point in the creative procedure. And if you ever want to undo the edits, it merely takes a few seconds. Read the complete article to learn how to create a Clipping Path in Photoshop 2023.
What is clipping path in photoshop?
The first thing you require to do is to understand what Clipping Path is. It is a procedure by which you can eliminate background or add a white background.
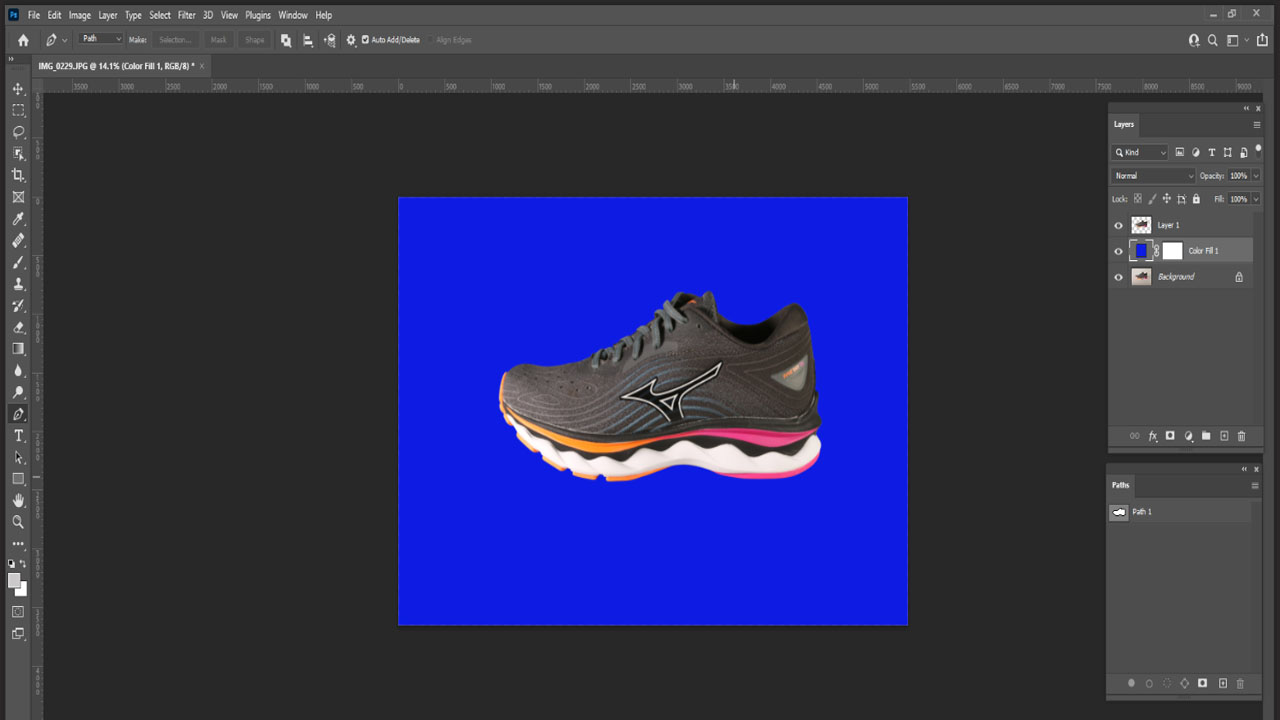
Clipping Path allows you to make a shape or a relative vector path and cut a portion of an image using the Pen Tool. This is an excellent method from removing the background from an image.
Designers identify diverse kinds of Clipping Paths. You could either use the easy technique of drawing a path around a picture using Pen Tool. If you want to remove the background from an image, then you must use clipping path techniques because it will provide you a smooth edge.
Types Of Clipping Path In Photoshop:
The Photoshop clipping path could be divided into three major categories:
- Single-Layer Clipping Path:
A single layer clipping path involves drawing a primary, simple path around an image’s complex edge. This layer is usually used to remove or adjust an image’s background. The clipping path is drawn on the same layer as a single layer.
-
Multi-Layer Clipping Path:
Multi-layer in Photoshop denotes to creating numerous pathways on various layers. Multi-layer is perfect for retouching photo or modifying definite areas of a photo. A single layer separates one obbject from an image, while a multi-layer separates multiple objects from the same idea.
-
Illustrator Path:
The Illustrator clipping path makes one or more vector shapes that follow the picture’s subjective path. When you need to resize an image, you can use an illustrator clipping path but are concerned about the resolution and do not want to spoil it.
Tutorial-Create A Clipping Path In Photoshop
Install a suitable version of Adobe Photoshop on your computer and then apply the stepwise guide below to remove the unwanted background from your pictures:
Step 1:
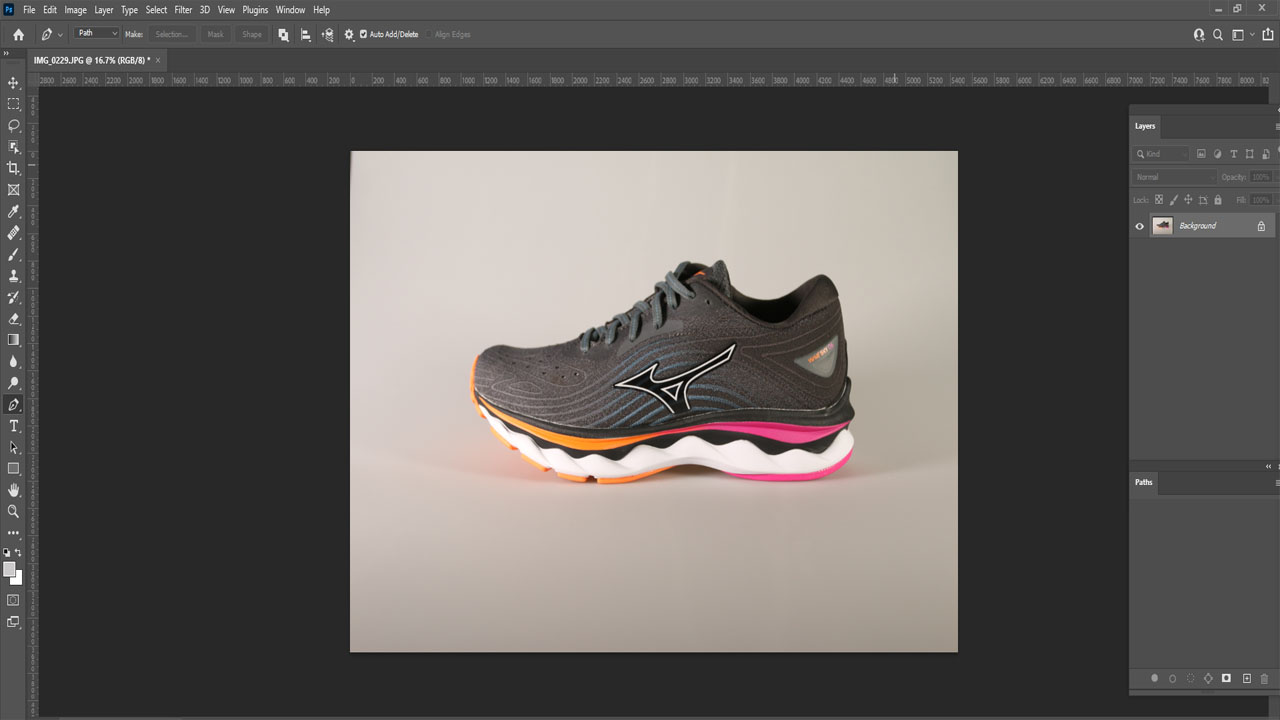
Click on ‘File’ positioned at the top left corner of the software interface and then scroll down to the option ‘Open’. After that, you will be directed to your computer local drive where your pictures are stored. Select your preferred image, and then click on ‘Open’.
Step 2:
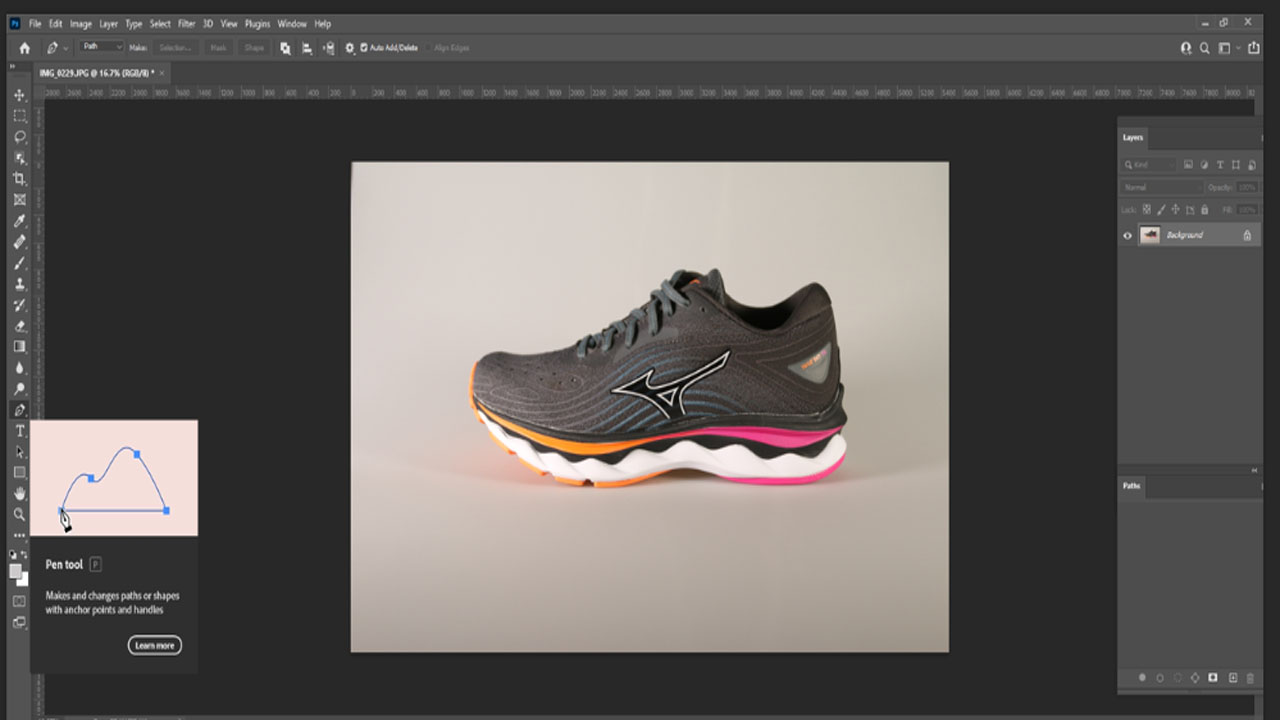
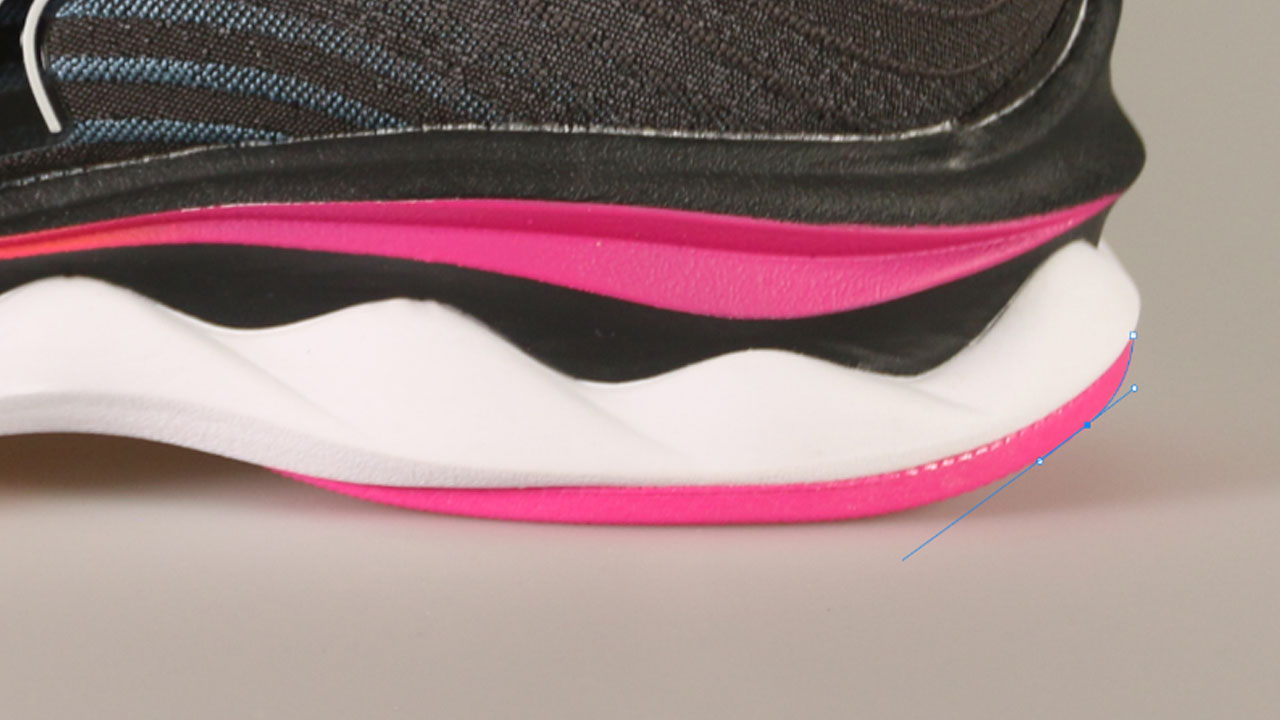
Go to the toolbar palette on the left-hand side of the software to pick ‘Pen Tool’. Alternatively, you could hit the hotkey ‘P’ on your keyboard. Your mouse will right away to pen tool.
Step 3:
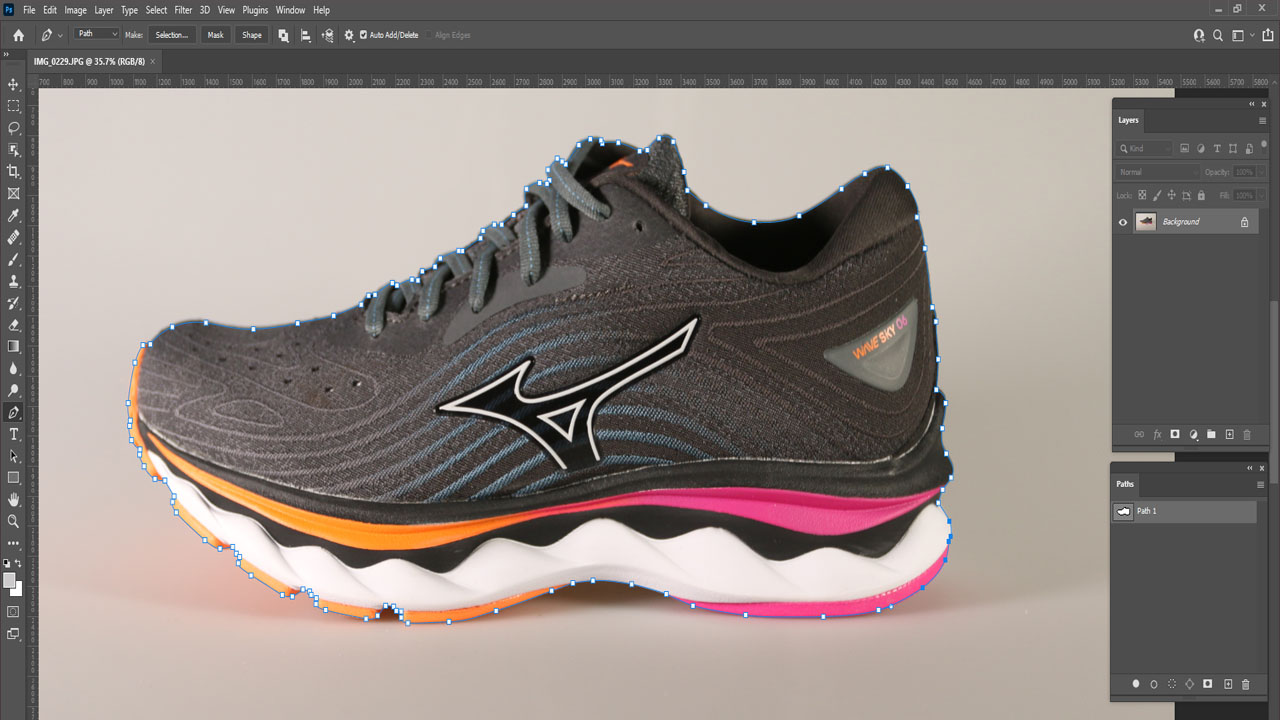
Use the ‘Pen Tool’ to draw a clipping path around the subject or object in your photo. Ensure that the path created is correctly drawn.
Step 4:
Next, you must refine your selection to eliminate unwanted paths or perfect your path creation. To do this, see the steps below:
- Select the ‘Direct Selection clipping path Pen tool found under the ‘Path Selection tool and then zoom in on the image; thus, you can quickly draw a clear path
- Should you make any mistake by missing out on an anchor point, select the ‘Pen Tool’ with ‘+’ on it. The ‘+’ lets you insert an anchor point wherever it is missing.
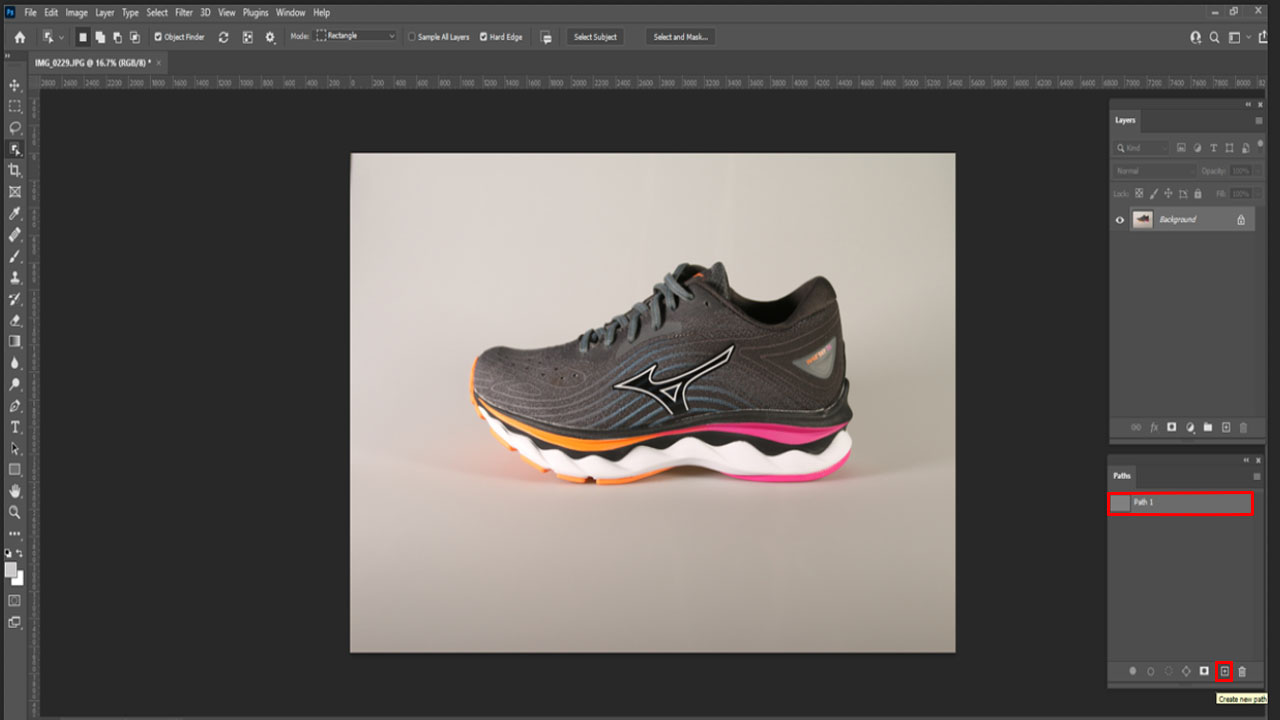
Step 5:
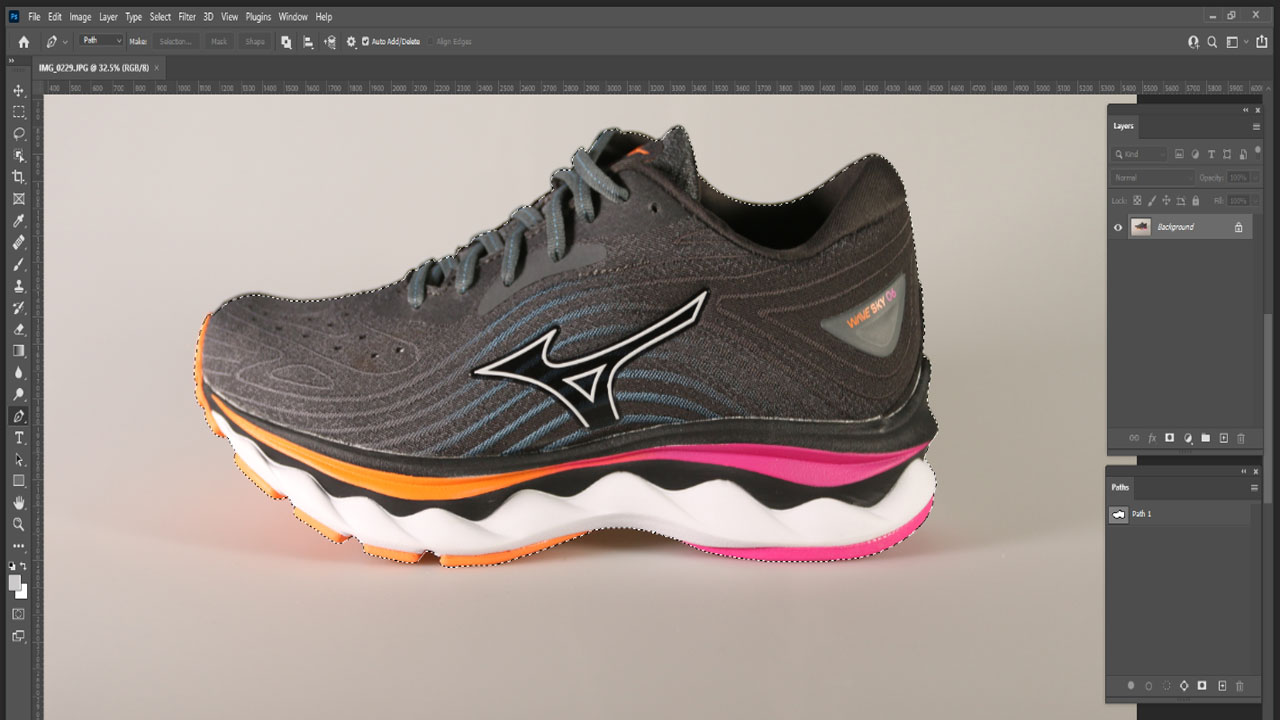
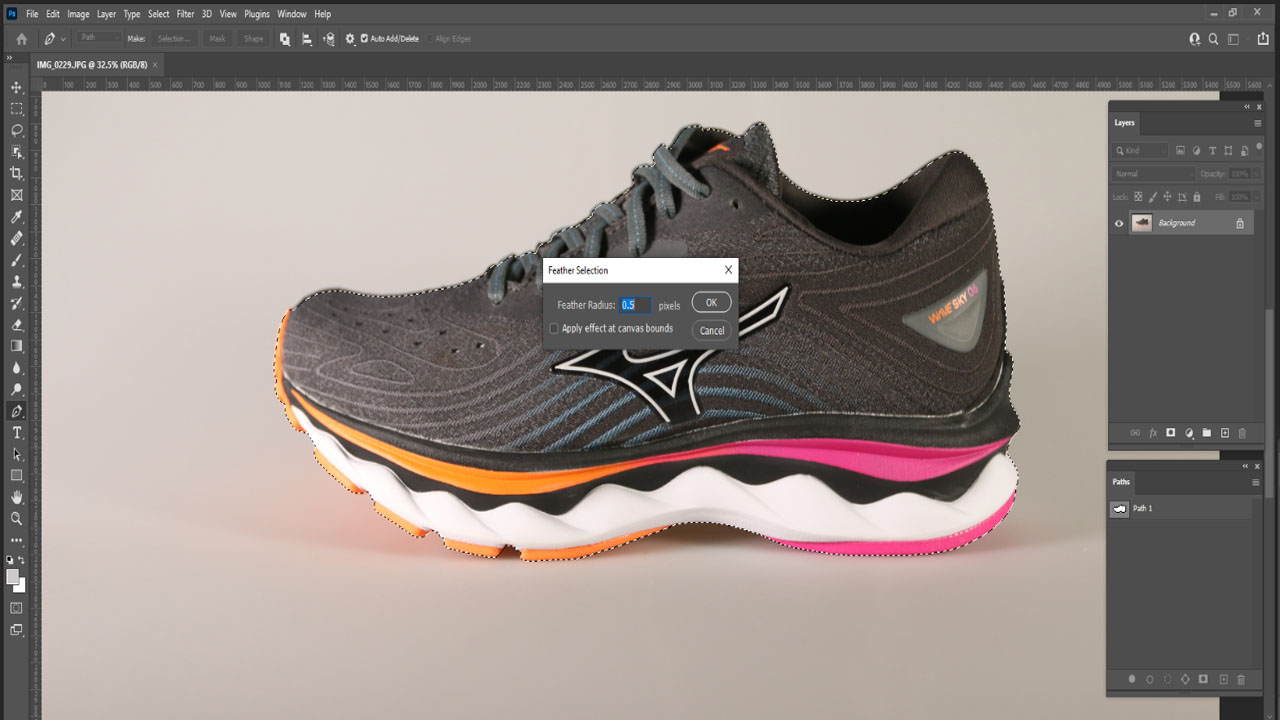
Select the path from the clipping path panel, then clicks the Make Selection tool from the top menu.
Then a dialogue box would appear on display. Now set Feather radius to 0.5, then hit the OK button.
Now path would be selected around the Object.
Step 6:
After finishing the step above, the next step is to invert your selection. Do this by clicking the hotkeys ‘Ctrl’ + ‘Shift’ + ‘I’. Another means is to right-click on the piece, then tap on Invert Selection from the list of options that appear. Now, your choice would switch from the subject to the background Photo.
Step 7:
Now, we have to unlock the original layer. Click the “lock” symbol then the layer will open automatically.
Step 8:

Hit the ‘Backspace’ or ‘Delete‘ switch on your keyboard to delete or remove that background from an image.
Step 9:
lastly, you have to move the edited photo to your hard drive. You can achieve this by clicking ‘File’, scrolling down to ‘Save,’ and then selecting a destination folder to export the file. Also, you can choose to use the hotkeys ‘Ctrl’ + ‘S’ to do this.
Change the background color of the image.
Before you can change the color of the background in Photoshop, you need to select it. Here are a few ways to do it, whether you are working on Windows or macOS:
Use the Magic Wand Tool
The Magic Wand tool is quick and works best when there are stark differences between the foreground and background, but it can work rather well if you’re short on time or patience. To do so, select the Magic Wand tool from the left-hand menu. Then, hold Shift and select the different parts of the background you want to change the color of.
Use the Lasso Tool
If the magic wand is a bit too heavy-handed or not nuanced sufficient to select all of your background, the lasso tool could be useful. There are three you can leverage for the same purpose. Select and hold the third option in the left-hand menu to be given a choice. The standard lasso needs drawing around the background by hand; Polygonal Lasso would let you draw defined, straight lines; Magnetic Lasso would stick to existing lines and edges.
When you have finished drawing around your background, either connect back to the starting point to conclude it or else press Ctrl+ Click.
Use the Masking Tool
If you want a super precise method of selecting the background of an image, you could use the masking tool. It’s the tool second-from-bottom in the left-hand menu. Select it, and then use a paintbrush or else similar tool to “paint” your selection. This could be combined with the above methods to fine-tune an existing selection. You must see the areas you’ve selected emerge in red. When you are happy with your selection, select the masking tool again to see your selection in dashed lines.
Now that you have selected the background, it’s time to change its color. You could do so in a couple of diverse ways, depending on what color you want the background to be:
Change Hue
Press Ctrl+U to bring up the Hue plus Saturation menu. Use the Hue slider to tweak the hue of your background. It would maintain the same lighting levels as before, but the overall color palette would change.
Paint Over It
If you would rather have a blank color as your background, you could paint over the one you already have.
- On Windows and macOS, press F7 to open the layers window
- Select New Layer to generate a new layer. It’s the second icon from the right
- Select Fill Tool from the left-hand menu. It looks similar to a paint bucket and is called the Paint Bucket Tool in some versions of Photoshop
- Use the color palette at the base of the left-hand menu to select your background color, then select inside your selection to create a blank color
Photoshop clipping path service
Clipping Path is a service that merely removes or cuts a background from an image. We deliver handmade Clipping paths using Photoshop Pen Tool to have the most excellent output. We set the pricing depending on the level or complexity of the image to be clipped.
- Complexity Based Price
- Bulk discounts
- Fast turnaround
- 24/7 Customer Support
FAQ
What is a path in photoshop
At its simplest a Photoshop path is a line with anchor points at either end. It could be a straight line or it can be curved, depending on how you generate it. More-complex paths are made up of multiple sections, each with an anchor point at either end.
How to use clipping path in Photoshop 2023?
To use a clipping path in Photoshop, generate a path around the object you want to isolate using the pen tool. When you have a path, you can make a selection or add a layer mask to hide the background.
What is clip masking in Photoshop?
Clipping masks in Photoshop are a powerful method to control the visibility of a layer. In that sense, clipping masks are like layer masks. But while the result might look the same, clipping and layer masks are very dissimilar. A layer mask uses black and white to show and hide diverse parts of the layer. But a clipping mask uses one layer’s content and transparency to control another’s visibility.
To generate a clipping mask, we need two layers. The layer on the bottom controls the visibility of the layer above it. In other terms, the bottom layer is the mask, and the layer above it is the layer that’s clipped to the mask.
Wherever the bottom layer contains real content (pixels, shapes, or type), the content on the layer above it is visible. However, if any part of the layer on the bottom is transparent, then that same region on the layer above it would be hidden. That might sound more confusing than how a layer mask works, but clipping masks are just as easy to use.
Conclusion:
High-quality product photos with beautiful light and color are the connecting dot between sellers and clients. Customers will only agree to purchase a product if the product photos convince them to do so. Not that this is the only determinator. However, this is the first impression. Excellent product images not just boost sales but also help to gain the trust of the clients, which confirms the clients’ return and establishes a brand value.
So maintaining a standard in images is an upper hand for any company. Without creating a perfect clipping path in Photoshop, you will not get your other edits done too. Quality image needs standard editing. Shooting good photos is significant, as well as, brilliant editing is required too. Do not compromise anywhere as this is the question of your reputation.