Adobe Photoshop plays a vital role in almost every people’s life related to online business. Photoshop is commonly used by photographers, artists, graphic designers, and some web developers. The Tool is so flexible that you can achieve the same results in several ways. So, the Photoshop shortcut keys always make our work easier.
Photoshop shortcut keys are an essential part of the workflow. It helps to save time and to focus better on digital illustration. This article shows the Photoshop shortcuts we frequently use, some of their features, and their use to make our job easier.
If you are a fresher or an advanced user, follow this article because all techniques are explained in detail.
Photoshop Shortcuts for Mac vs. Windows
For the most part, users running Photoshop on Mac vs. Windows-based systems will find the differences within the application itself negligible and transparent. There are dialog boxes that might look different due to the various Operating Systems, but the functionality and choices within those dialog boxes remain the same. There are some keystroke command differences as well. Use this handy reference to help:
Windows CONTROL = Mac COMMAND
Windows ALT = Mac OPTION
Windows BACKSPACE = Mac DELETE
One example of these differences is opening a New File. The user could use the shortcut key combination CONTROL N on a PC. On a Mac, the user would instead choose COMMAND N.
Popular shortcuts used in Adobe Photoshop
Photoshop shortcuts could speed up your workflow, so we are going to share our favorite.
The Tab Key
The tab key will show and hide all of your panels and toolbar. It is one of those Photoshop shortcuts that, if you don’t know about it and hit by mistake, you will wonder where your tools have all disappeared! Tab again to bring them back!
Shift and Tab
The shift tab is cool because if you hold down the shift key and then press the tab, you can hide all of your panels but not the tools, so you can work away with your tools and then shift the tab to bring back to panels.
F key
F key changes your screen mode to standard, full, and full-screen without the menus or panels.
The Square Brackets
Left [ = smaller brush
Right ] = larger brush
Just keep hitting either one, and you will change your brush size appropriately.
Shift and the Square Brackets
Shift and [ = Makes your brush softer and
Shift and ] = Makes your brush harder
Hold down Shift and keep pressing the left or right square bracket to make your brush softer or harder.
Ctrl Alt click and drag (Mac) or Alt Right Click and drag (PC)
It sounds confusing, but it is a handy shortcut for making your brush larger or smaller if you drag it left and right or softer and harder if you drag it up and down. Now you should see a red preview of the brush’s hardness and size, but if you don’t, don’t worry about it, it’ll still work – (it’s to do with the graphics card on your machine as to whether you can see it or not).
D key
Most people know that if you use Ctrl or Cmd D, it’s for deselect in Photoshop. Still, if you press the D key by itself, you will change your foreground and background colors to the default, pure black and pure white. This is useful if you’re working on layer masks and need pure white or black.
X key
If you are working on a layer mask, you want to quickly flick between black and white so you can either show or hide the Layer. Now X flicks your foreground and background colors over, speeding up working, erasing, and showing on masks.
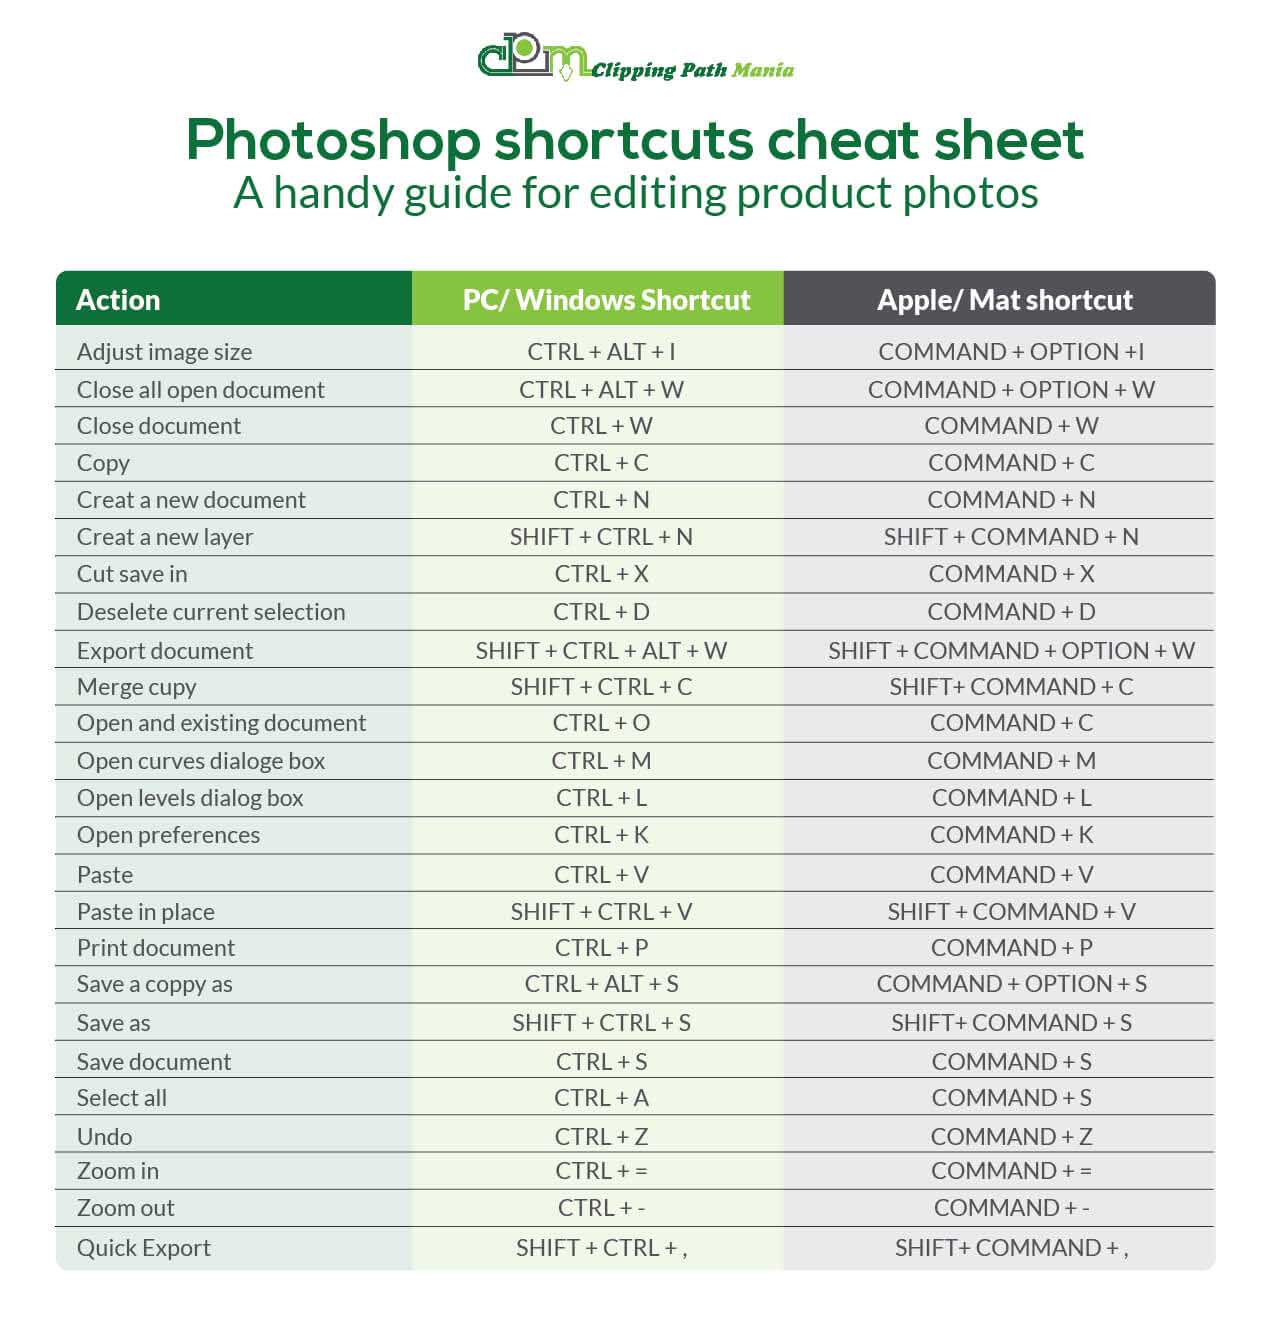
Cmd + or – or 0 (Mac) / Ctrl + or – 0 (PC)
These are your zoom-in, zoom-out, and fit-to-screen shortcuts for Mac or PC.
Spacebar
By holding down the spacebar, you can change whatever Tool you’re in, except for the Type tool, into the hand tool so you can move around on your document. It is perfect because those little buttons on the right-hand side at the bottom for scrolling around are annoying!
Essential Photoshop Shortcuts
Shortcuts with layer and Object

Clipping Path Keyboard Shortcuts in Photoshop
There are key command shortcuts to make the process quicker and easier when you plan to use Clipping Path to separate a product image from its background.
To do the job faster, using both of your hands is advised. Use one hand to type on the keyboard and the other to draw with the mouse or stylus.
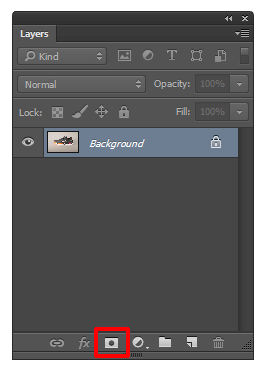
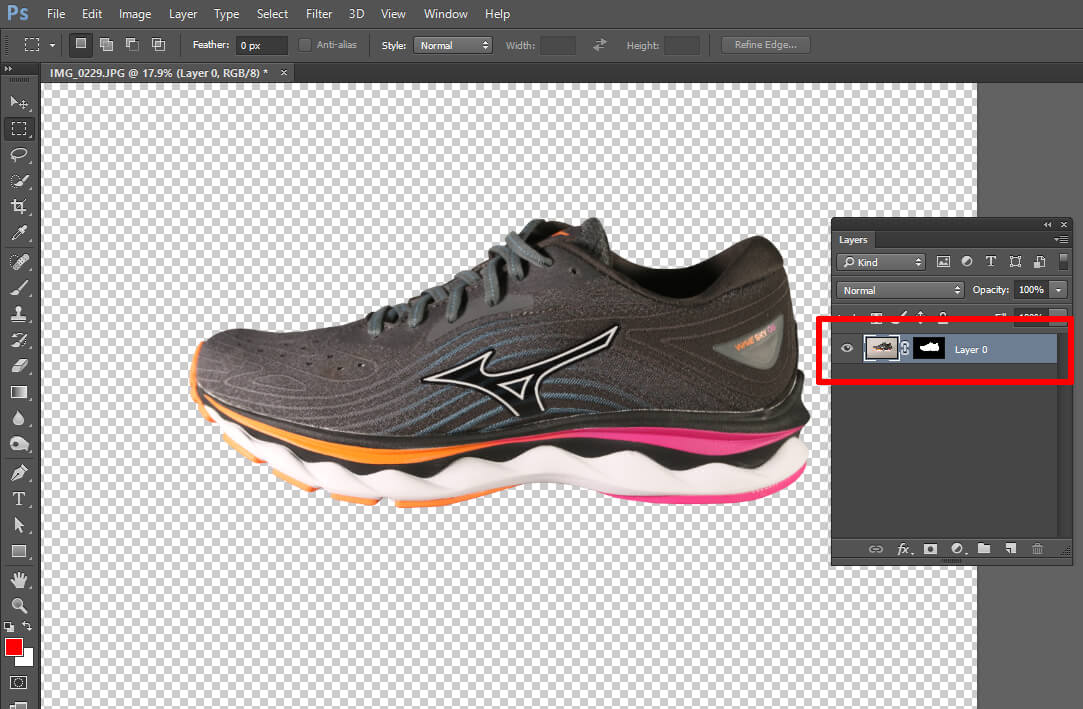
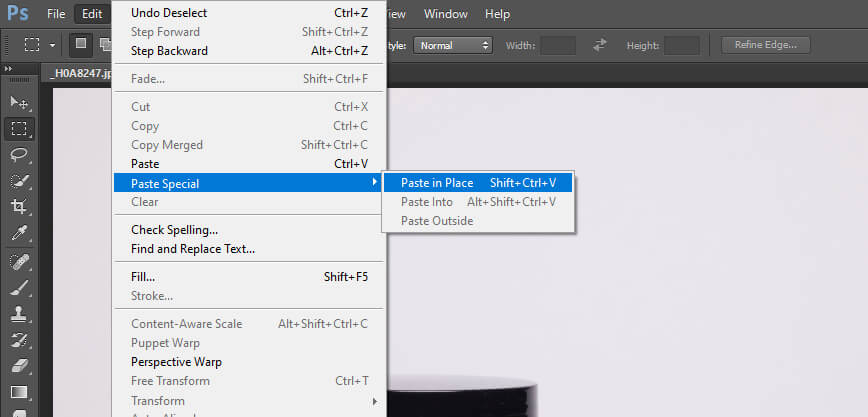
There are several expedient Clipping Path Keyboard Shortcuts. For example, you can use SHIFT+CTRL+N to create a new layer and SHIFT+F5 to fill a layer with color. Likewise, there are shortcuts in the Layers as well as Paths panels.
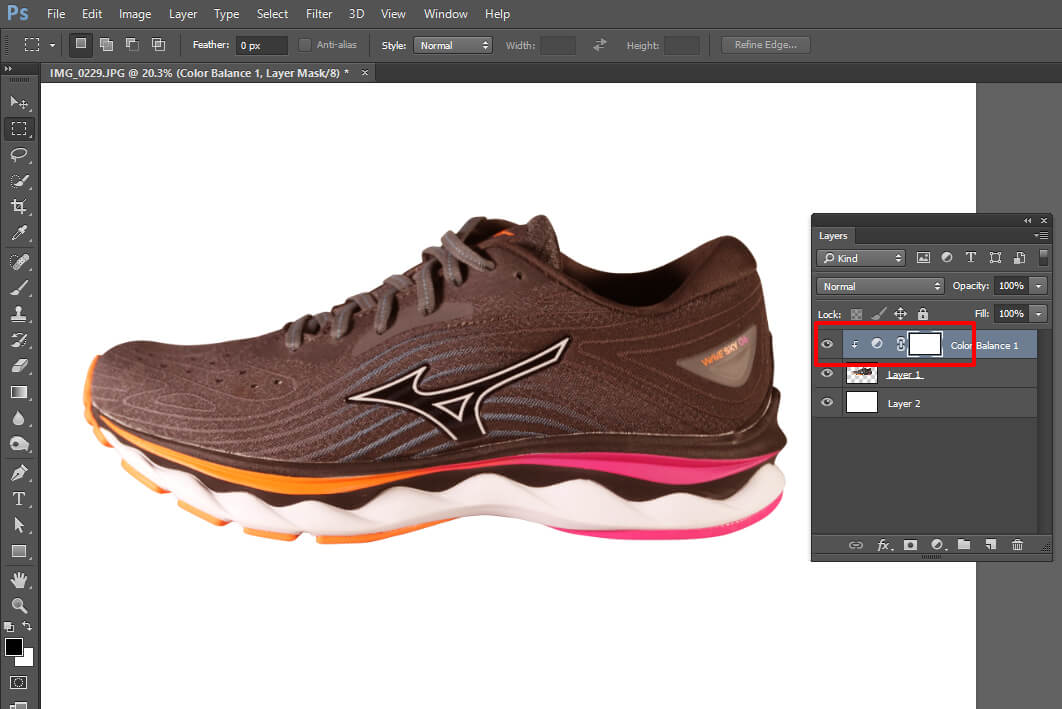
Photoshop shortcut for clipping mask
Clipping masks are handy while creating composites. As you add layers to an image, adjust the colors, brightness, etc. Clipping masks allow you to add adjustment layers and limit their effect to a single layer. There is more than one method to create a clipping mask. A keyboard shortcut is the final (and fastest) way to create a clipping mask. With the Layer that you would like to clip highlighted, press Ctrl + ALT + G or Command + Option + G on the keyboard.
Removing a Clipping Mask
If you want to remove a clipping mask, follow any of the previous instructions for creating one.
However, this time when you click the clipping mask icon at the bottom of an adjustment panel, it will deactivate the already active mask. When you right-click to open the menu, you’ll see Release Clipping Mask instead.
When you select holding ALT or OPTION, your cursor will turn into a crossed-out clipping mask. And if you hit Ctrl + ALT + G or Command + Option + G, it will remove the active mask.
Super simple!
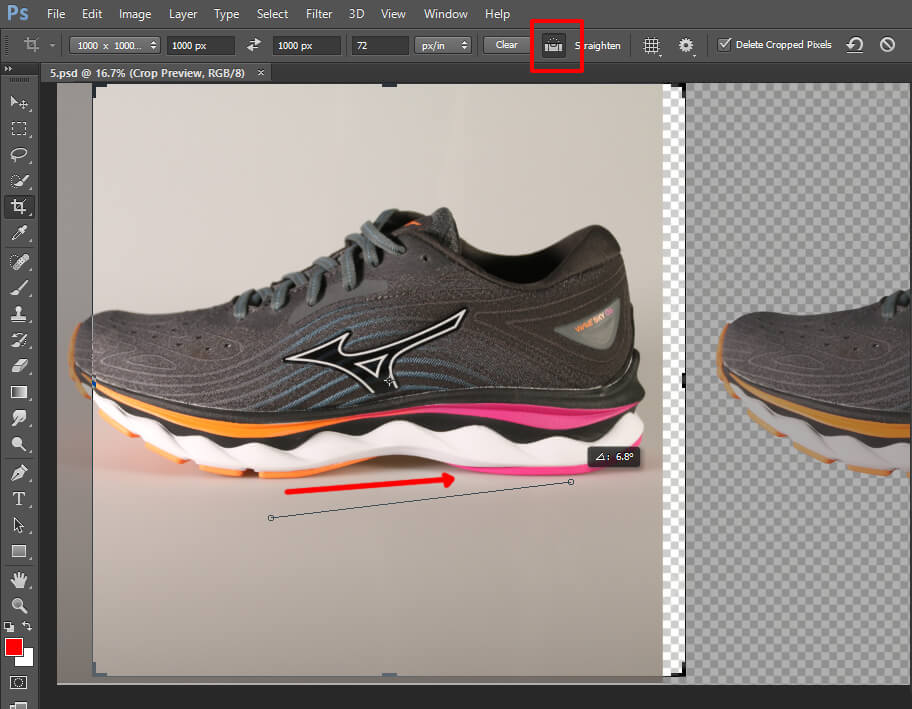
Making a Crop Preset for Product Images in Photoshop
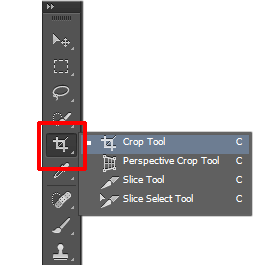
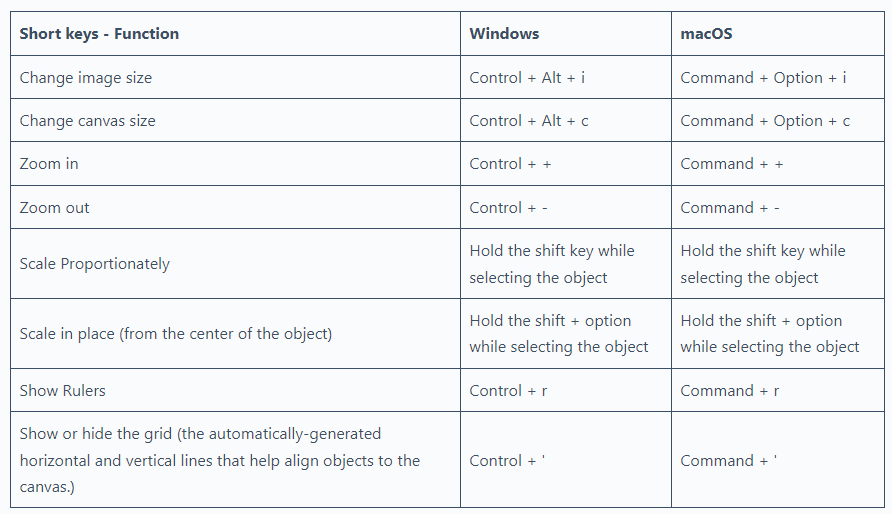
You must set up your Crop tool to quickly crop similar product images. Thus, they will all be the same size and resolution. You can access the Crop tool by typing C. When the Crop tool is selected, you can access a series of options at the top of the Photoshop window. In the first dropdown in the Options menu, choose W x H x Resolution.

Once you set your dimensions, select New Crop Preset. With your crop preset created, click on any product image with the crop tool, select your custom preset from the W x H x Resolution dropdown, and use the guides to position the subject of your photo.
How to quickly export images for your website
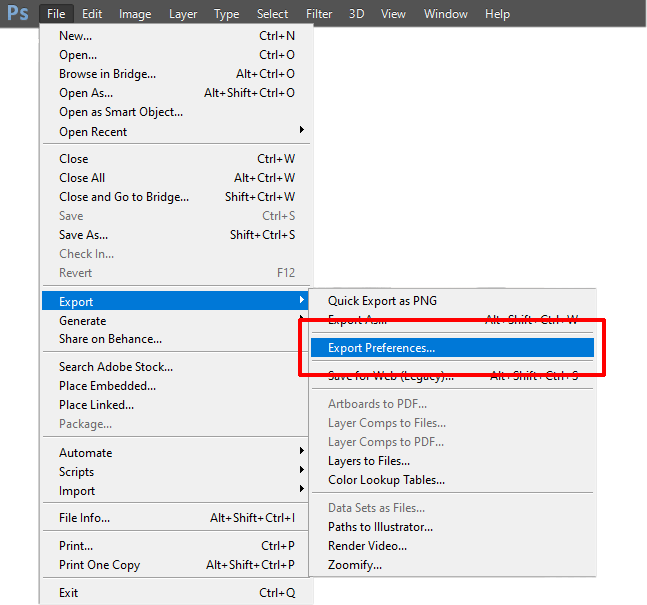
File > Export > Save for Web. It is usually the process we repeat every time we export images in JPEG or other formats for the Web. But there’s a shortcut to this which makes it more accessible and faster: Shift + Alt / Option + Ctrl / Cmd + S.
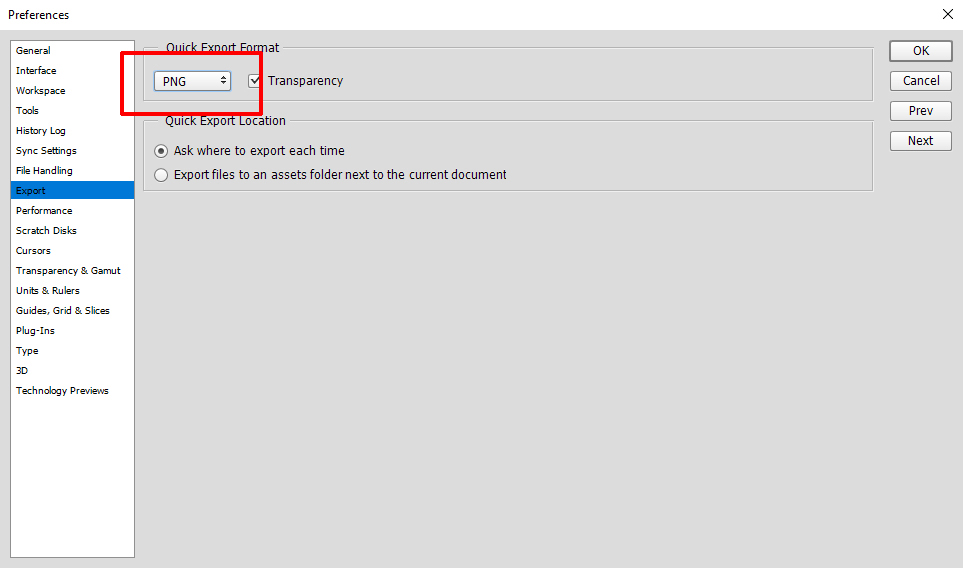
Using this command, you can use the familiar export window and choose your preferred format to export the images.
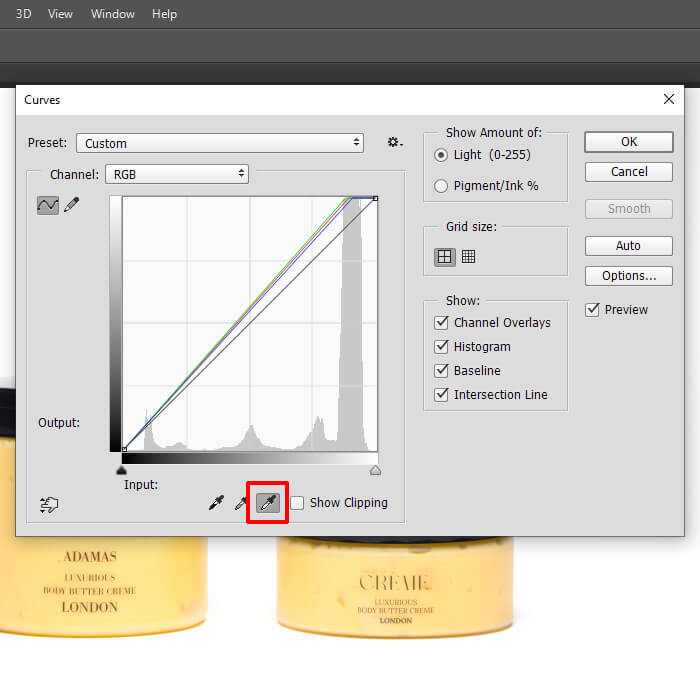
Making your background a true white in Photoshop

With your product image open in Photoshop, choose Image>Adjustments>Curves from the dropdown menu at the top of the application window. You can use the shortcut CTRL+M to bring up Curves. In the Curves dialog box that appears, you will see three eyedropper tools at the bottom of the Window.
Keeping the eyedropper tool selected, click on the background of the product image. Then you can choose the darkest part of your white background that is not a shadow. The Eyedropper will turn the pixels white and adjust the rest of the Image accordingly.
Shortcut to create Duplicate Layer
When you open the Image to edit it in Photoshop, creating a copy of your background layer is highly recommended.
It will permit you to work on this copy rather than directly on the Image. It makes your flow less destructive. You can permanently delete this Layer, and your Image remains intact.
You could create copies of any layer you need, not just the background.
To do so, press Ctrl+J for Windows or Cmd+J
for Mac. Just make sure that you have previously selected the Layer you want to create the copy from.
Selecting Layers
It is easier to Select layers using your mouse, but if you need to record an action with layer selection changes, you must use the shortcuts.
If you select layers with the mouse when recording an action, the recording uses that layer name. So afterward, when you try to run the action, and it cannot find that specific layer name, the action will not work.
When using keyboard shortcuts to select a layer while recording an action, the action records it as a forward otherwise backward selection in place of a fixed layer name.
Here are the shortcuts for choosing layers with the keyboard:
Alt/Option-[: choose the layer below the currently selected layer (select backward)
Alt/Option-]: choose the Layer above the currently selected Layer (select forward)
Alt/Option-comma: choose the bottom-most Layer (select the back layer)
Alt/Option-period: select the top-most Layer (select front Layer)
Add Shift to these shortcuts to select several layers.
Zooming In and Out
You can zoom in plus out of your document without using the space bar. The Fastest method is to hold the Alt key while rolling over the scroll wheel on your mouse.
But if you do not have a scroll wheel and want to zoom in and out in appropriate increments, the following shortcuts you can use:
Ctrl/Command-plus: zoom in
Ctrl/Command-minus: zoom out
Ctrl/Command-1: zooms to Exact Pixels
Ctrl/Command-zero: fits the document toward your screen
Undo and Redo
If you wish to undo multiple steps, use the “Step Backward” shortcut. On a computer, it is Alt-Ctrl-Z.
Press Command-Option-Z on a Mac. Keep pressing this command as often as you want to undo several steps simultaneously.
To redo the step, use the “Step Forward” shortcut. It is the same as Step Backward, but you add Shift to the command.
Adobe Photoshop Keyboard Shortcuts: For Color
Eyedropper Tool – Click the letter “I” on your keyboard
Toggle Foreground / Background Color – Click the letter “X” key on your keyboard
Default Colors – Click the letter “D” on your keyboard.
Easy ways to speed up how you move around the interface in Photoshop
Photoshop keyboard shortcuts are undoubtedly the quickest way to speed up your workflow. If you are a Photoshop Beginner, it is well worth consciously remembering a few keyboard shortcuts. These shortcuts are handy for working with large photographs or images where you have to zoom in and out repeatedly.
- Press Tab to hide your toolbox, options bar, and panels. It gives you much more room in your workspace and is a handy way to get an uncluttered view of your work.
- To keep your toolbox on the screen but hide all panels, press Shift + Tab.
- When you’re working with large documents or are zoomed in closely, the Page Up and Page Down keys move you one full screen up or down one full screen.
- Press Ctrl/Cmd + Page Up to move one full-screen left, and press Ctrl/Cmd + Page Down to move one full-screen right.
- Press the Home key to jump to the top left corner of your Image. Press the End key to jump to the bottom right corner.
- If multiple documents are open, press Ctrl/Cmd + Tab to cycle through each one.
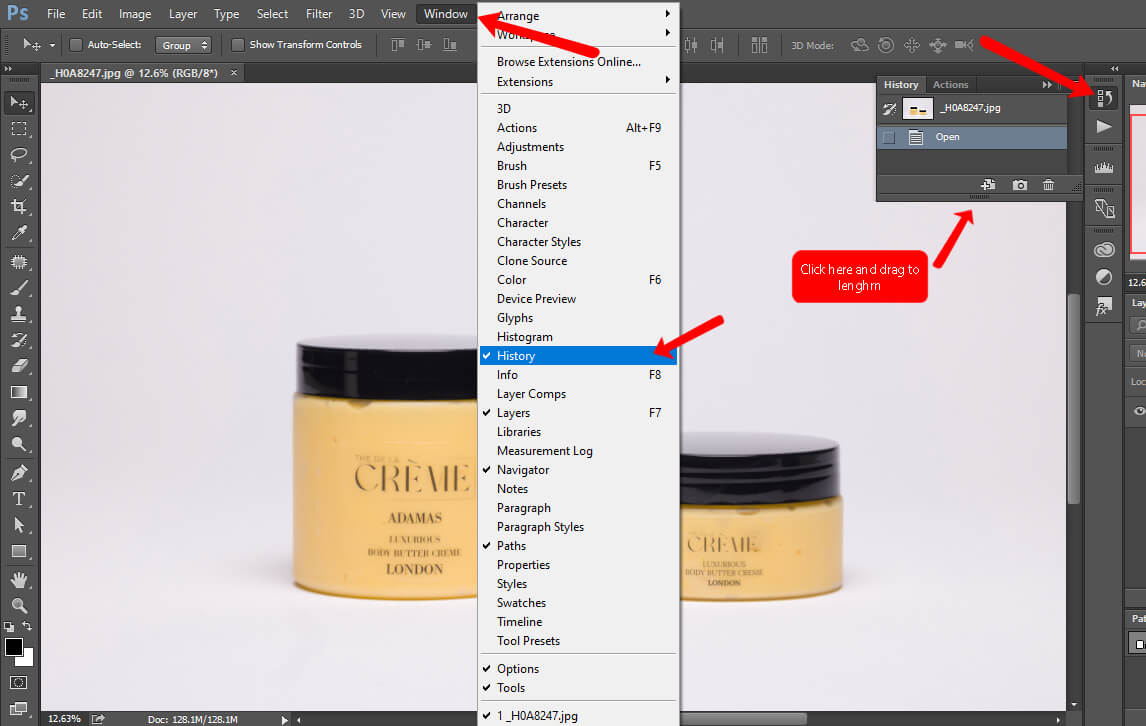
- You can match their magnification or location when you have one or more documents open. To do this, choose Window> Arrange to Match Zoom, Match Location, or Match Zoom and Location.
- If you want information about your open Image, hold Alt/Option + click on the info area at the bottom of the document window. It saves time because you don’t have to use the menu system to find image dimensions or file sizes.
How do I create a custom shortcut in Photoshop?
Photoshop is powerful software that offers many tools and features to improve your images. Accessing these tools manually whenever you require them could be time-consuming and awkward. It is why knowing how to generate custom shortcuts in Photoshop is necessary. Doing so allows you to quickly access the tools you frequently use, allowing you to work more efficiently.
Open the Keyboard Shortcuts Dialog Box
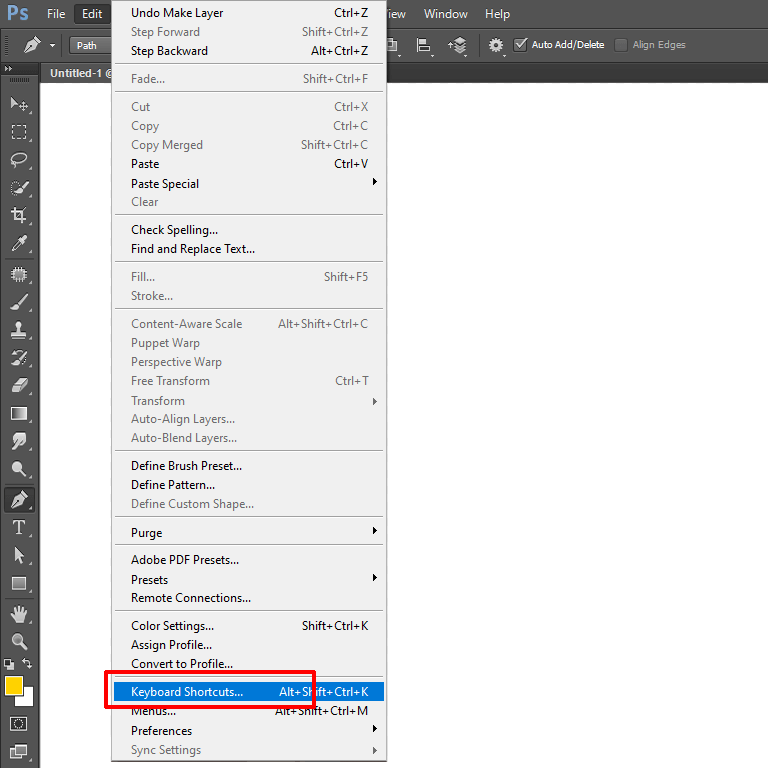
To make custom shortcuts in Photoshop, open the Keyboard Shortcuts dialog box. Go to Edit > Keyboard Shortcuts. Instead, you can use the keyboard shortcut Ctrl + Alt + Shift + K for windows and Cmd + Opt + Shift + K for Mac.
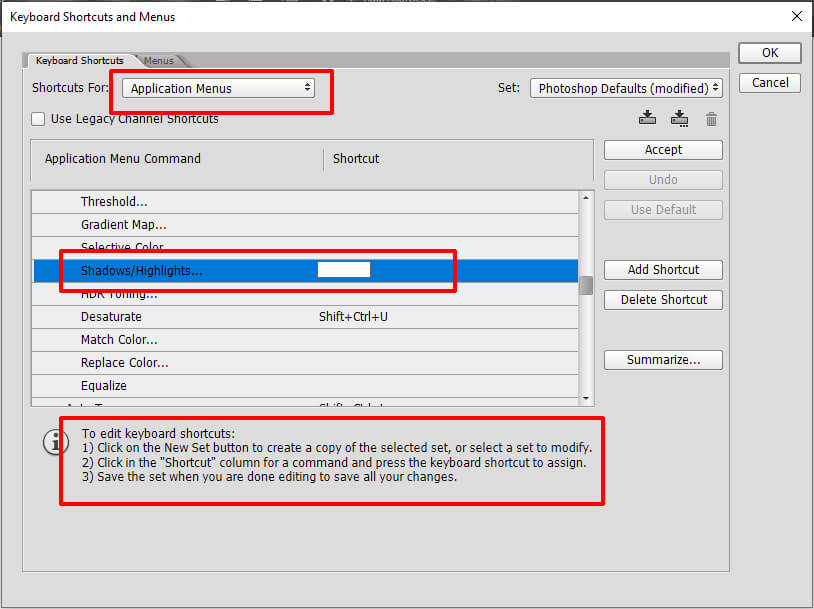
Select a Shortcut Set
In the Keyboard Shortcuts dialog box, you will see different shortcuts listed on the left side of the screen. These include Application Menus, Panel Menus, and Tools. Select the “Tools” option from the list to make custom shortcuts for the tools.
Find the Tool you want to assign a Shortcut to
On the right side of the PC screen, you will see a list of all the tools available in Photoshop. Find the Tool you want to assign a shortcut to and select it.
Change the Shortcut
Once you have selected the Tool, you will see the current shortcut assigned to it in the right column. To change it, click on the existing shortcut and type the new one you want.
Save the Changes
Once you have assigned the new shortcut to the Tool, click the “OK” button at the bottom of the Keyboard Shortcuts dialog box. The changes will be saved automatically, and the new shortcut will be active in the next session.
Test the Shortcut
To test the new shortcut, close the Keyboard Shortcuts dialog box and then use the new shortcut to access the Tool you assigned it to. If it works correctly, you have successfully created a custom shortcut in Photoshop.
FAQ
What is the shortcut key for clipping path in Photoshop?
Command + Option + G for macOS or Control + Alt + G for Windows is the shortcut for creating a clipping mask. Alternatively, hold down Option (macOS) or Alt (Windows) and hover your mouse between the two top layers in the Layers panel. When a downward arrow appears, click to apply the mask.
What is the shortcut to editing content in Photoshop?
In Photoshop, click Edit > Keyboard Shortcuts in the menu bar. Photoshop will open the “Keyboard Shortcuts and Menus” window. Here, you’ll select which shortcuts you want to change. Click the “Shortcuts For” dropdown menu and select an item.
What is control E used for in Photoshop?
Ctrl + E (Merge Layers) — Merges selected Layer with the Layer directly below it. If multiple layers are selected, only those will be merged.
What is F7 used for in Photoshop?
Quickly show and hide the Layers panel easily by pressing F7 on your keypad. It will also show and hide the Channels and Paths panels because they are grouped.
What is Ctrl +E used for in Adobe Photoshop?
Ctrl + E (Merge Layers) — Merges selected Layer with the Layer directly below it. If multiple layers are selected, only those will be merged. Crtl + Shift + E (Merge Visible) — Merges all visible layers into one.
Final Thoughts
Photoshop is the most used image editing software, with countless varieties of tools, methods, and techniques. It has one of the most accessible interfaces, making editing images for all users easier. But the process becomes even easier when you start using the shortcut ways. You can edit images perfectly without errors using clipping paths and other Photoshop shortcuts for editing eCommerce photos. Using these shortcuts makes it easier to customize pictures per the websites’ requirements. Besides saving your precious time, it will assist you in staying entirely concentrated on what you are doing.